In this post, I will describe the process I’ve used to create a very minimal Linux build. It is minimal for the sake of learning, to get a clearer picture of how barebones a operating system could be put together. The build will consist of an operating system kernel and an initial ram disk.
I will be using Ubuntu 16.04 on my laptop as my build box, and use QEMU VMs as my test systems. If you’d like more information on building a linux kernel there is a decent tutorial on kernelnewbies as well as the kernel building section of the Gentoo handbook.
The Linux Kernel
It can be difficult to see the separation of what is Linux kernel and what is the Linux distribution. The Linux Kernel itself is there primarily to facilitate access to hardware and provide a safe haven for processes to live and breathe. The kernel’s user interface is its API. It provides a foundation for all other software to allow storing files, using networks, render graphics, handle keyboard input and so on. On top of the kernel your terminal, your login process, your window manager, your browser, etc. are usually provided by your distribution.
Obtaining and building the kernel is very simple, though configuring the kernel can be a little trickier depending on your needs. For the sake of this excersize the default configurations for an x86_64 system will do just fine.
First off, I’ll create a new directory to work out of and get started. As of today, the latest linux kernel at the top of kernel.org is 4.13, I will download this latest tar file, extract it and jump into the extracted directory.
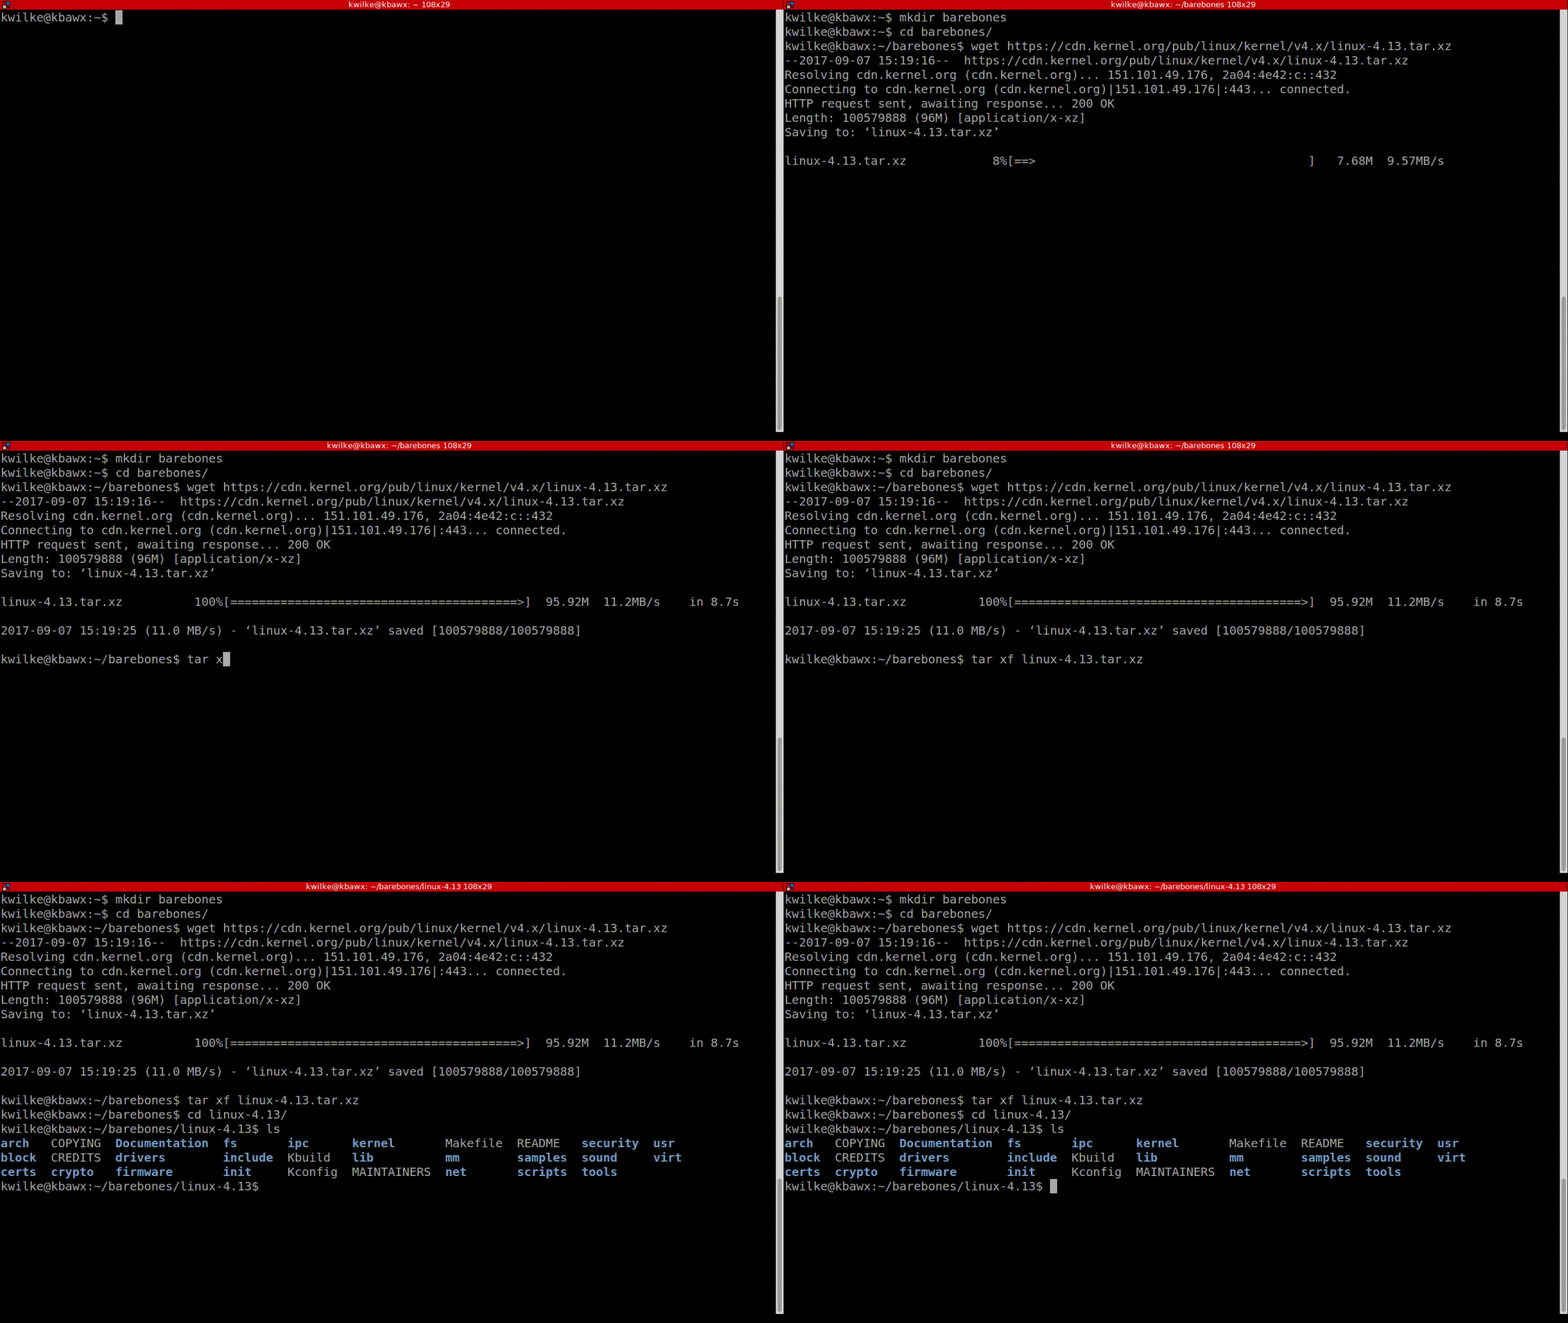
Now that I have the kernel source files, I’ll use make defconfig to configure the defaults for a standard x86_64 machine and will do make -j4 to compile the kernel using all 4 threads my laptop has to offer.
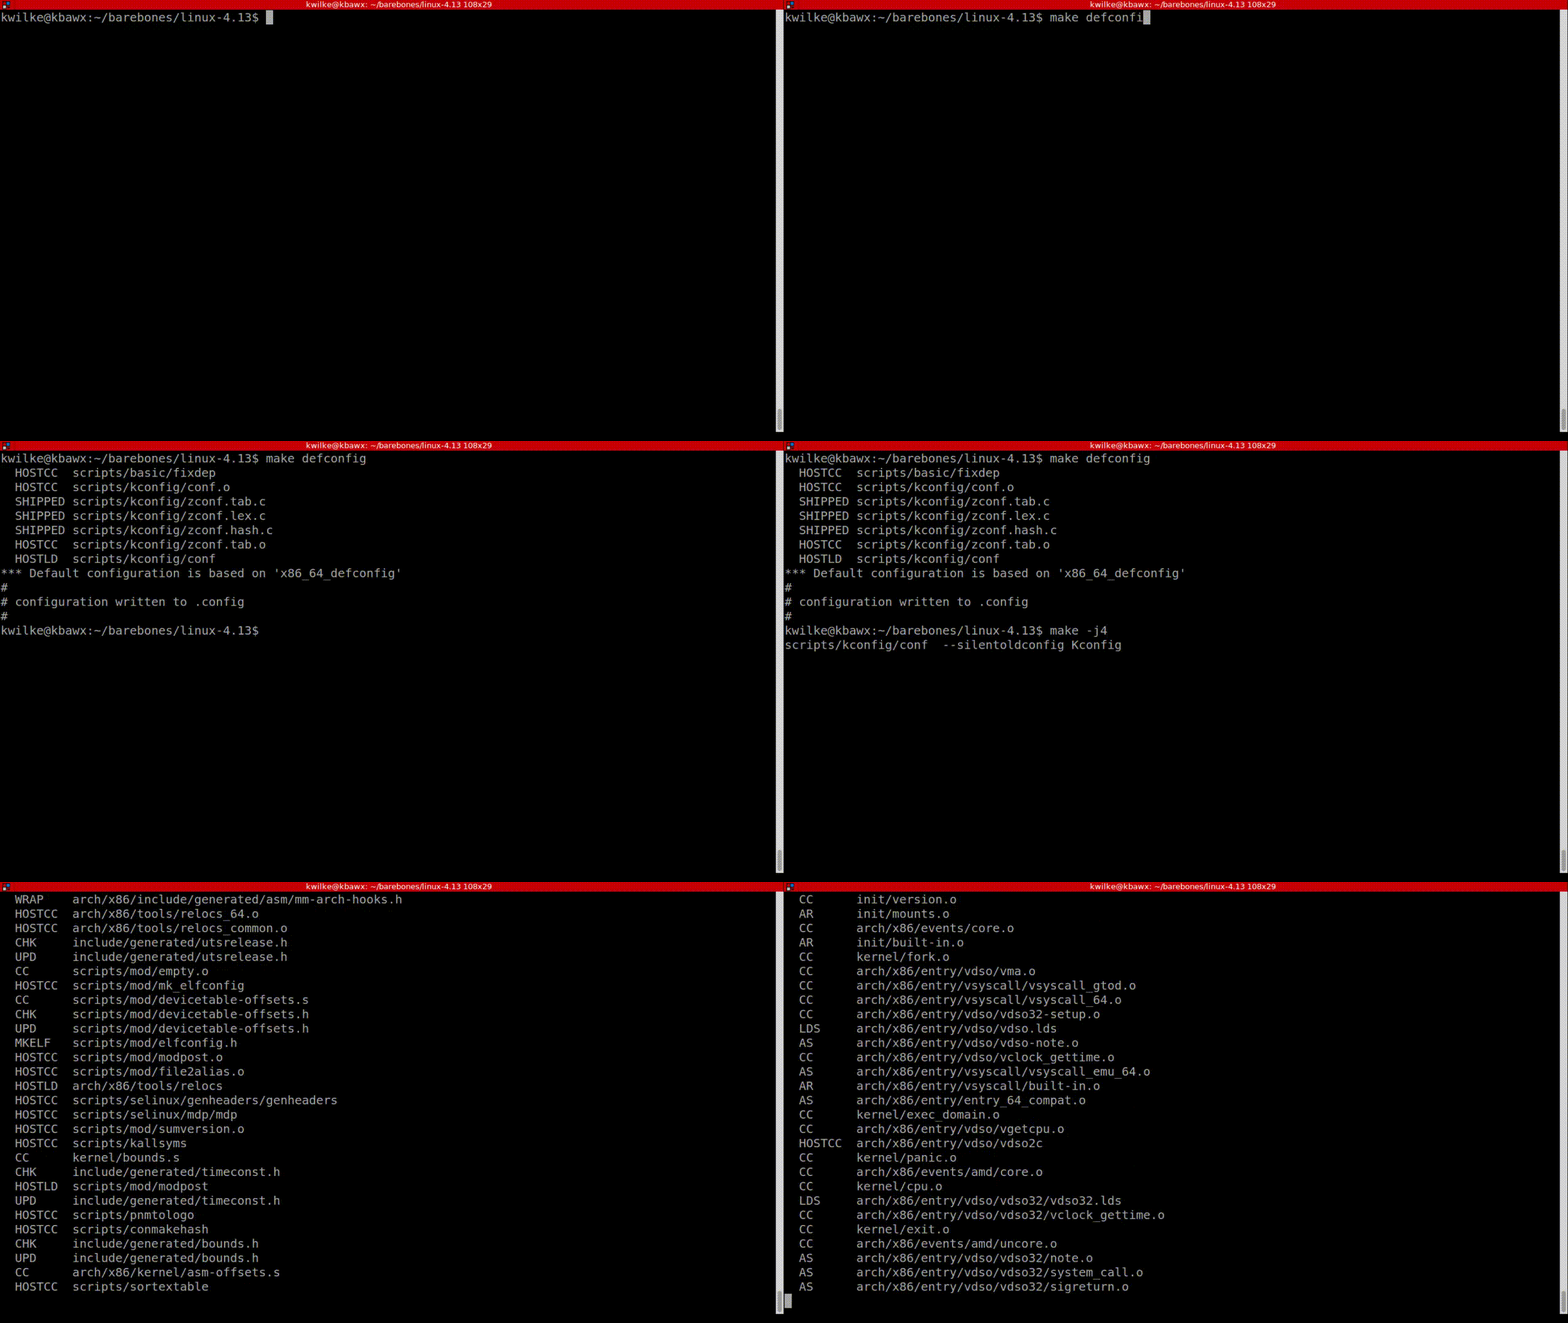
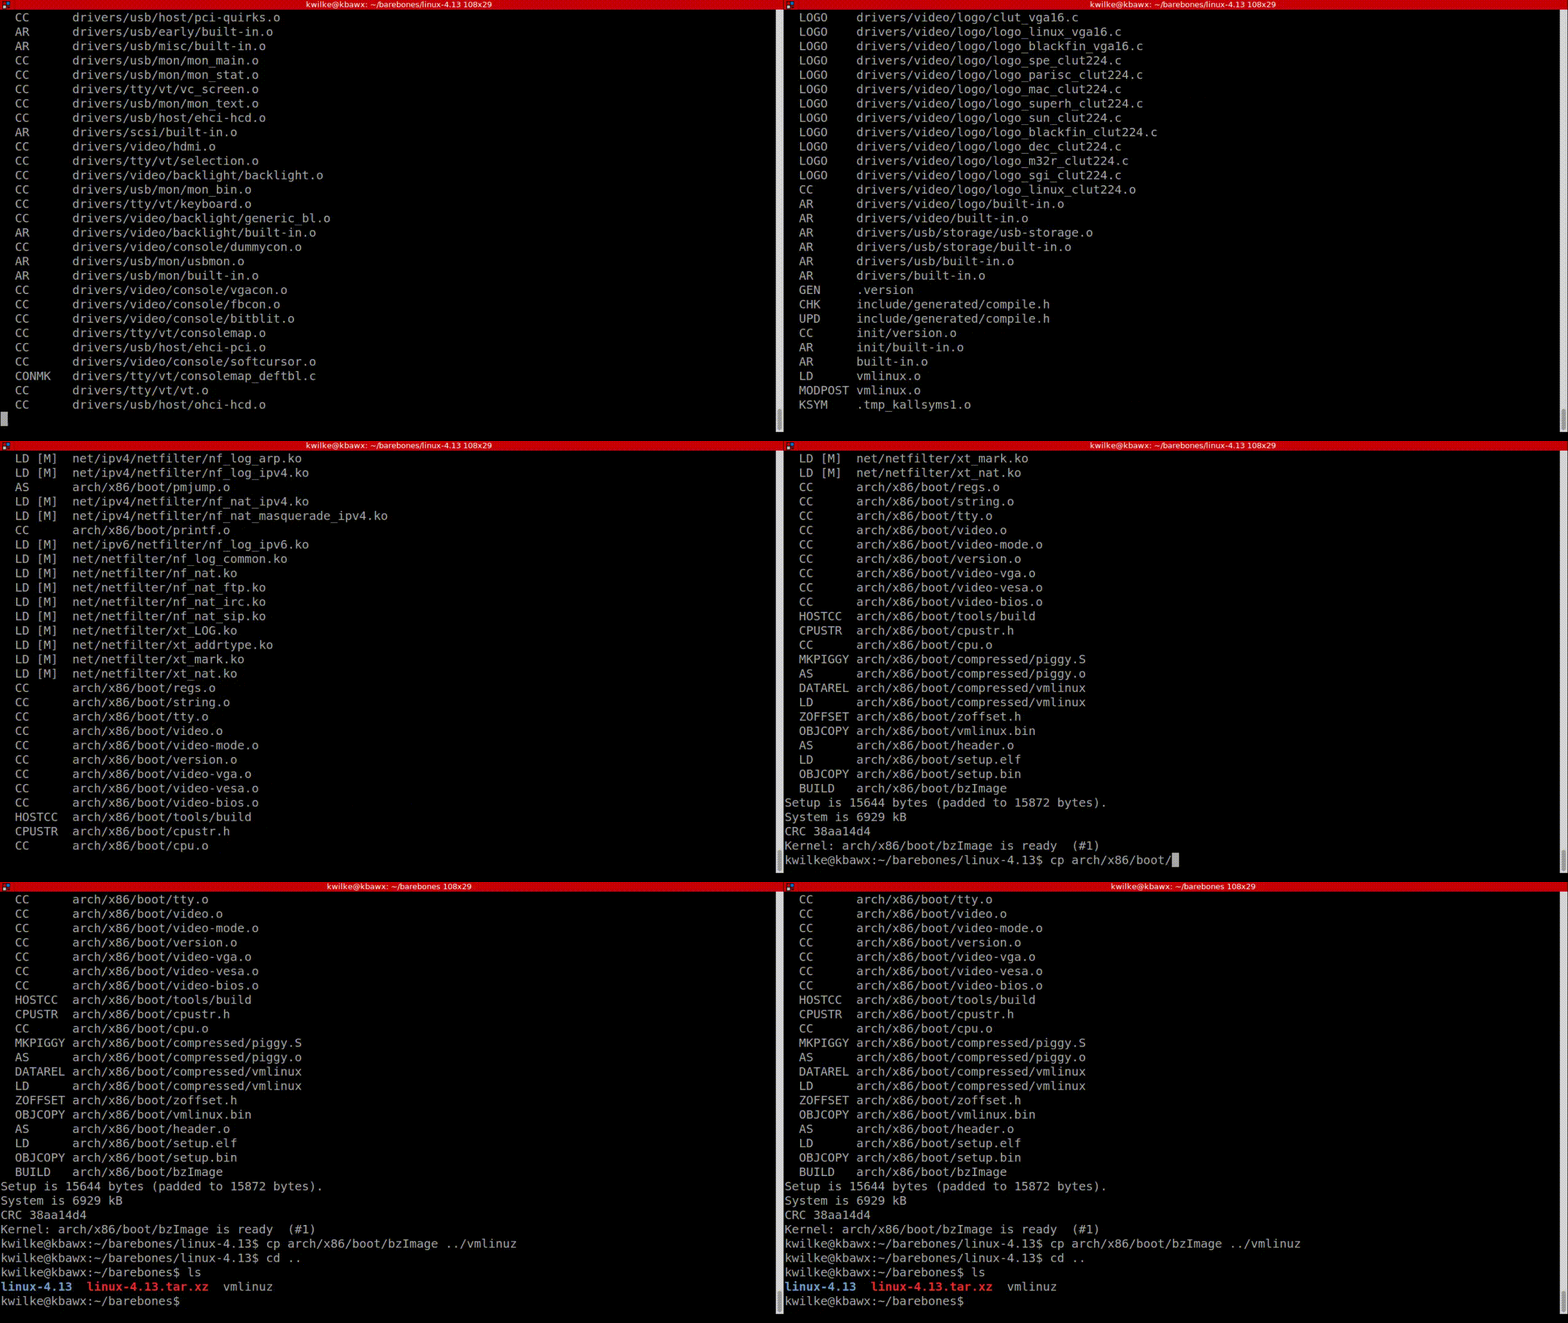
Even with the extra threads, it takes about 8 minutes to compile on my machine. It’s not the simplest kernel as there are many default features we could disable to trim down the kernel size and compile time but I’m not worried about that for this build. Once it’s complete I copy the bzImage file that was generated into my barebones parent directory.
Init process and initramfs
Typically when a computer boots, the host firmware will look for a bootloader on a bootable device. The bootloader will load the kernel and pass control of the system to it. The kernel gets control, does it’s own startup shenanigans and looks for a program to run as the primary (init) userspace process (PID 1).
In most Linux distributions, this init process can be a SysV style init process, SystemD, Upstart or OpenRC. In this case, it’s going to be a looping hello world program. I compile it with -static so that libraries are staticly linked
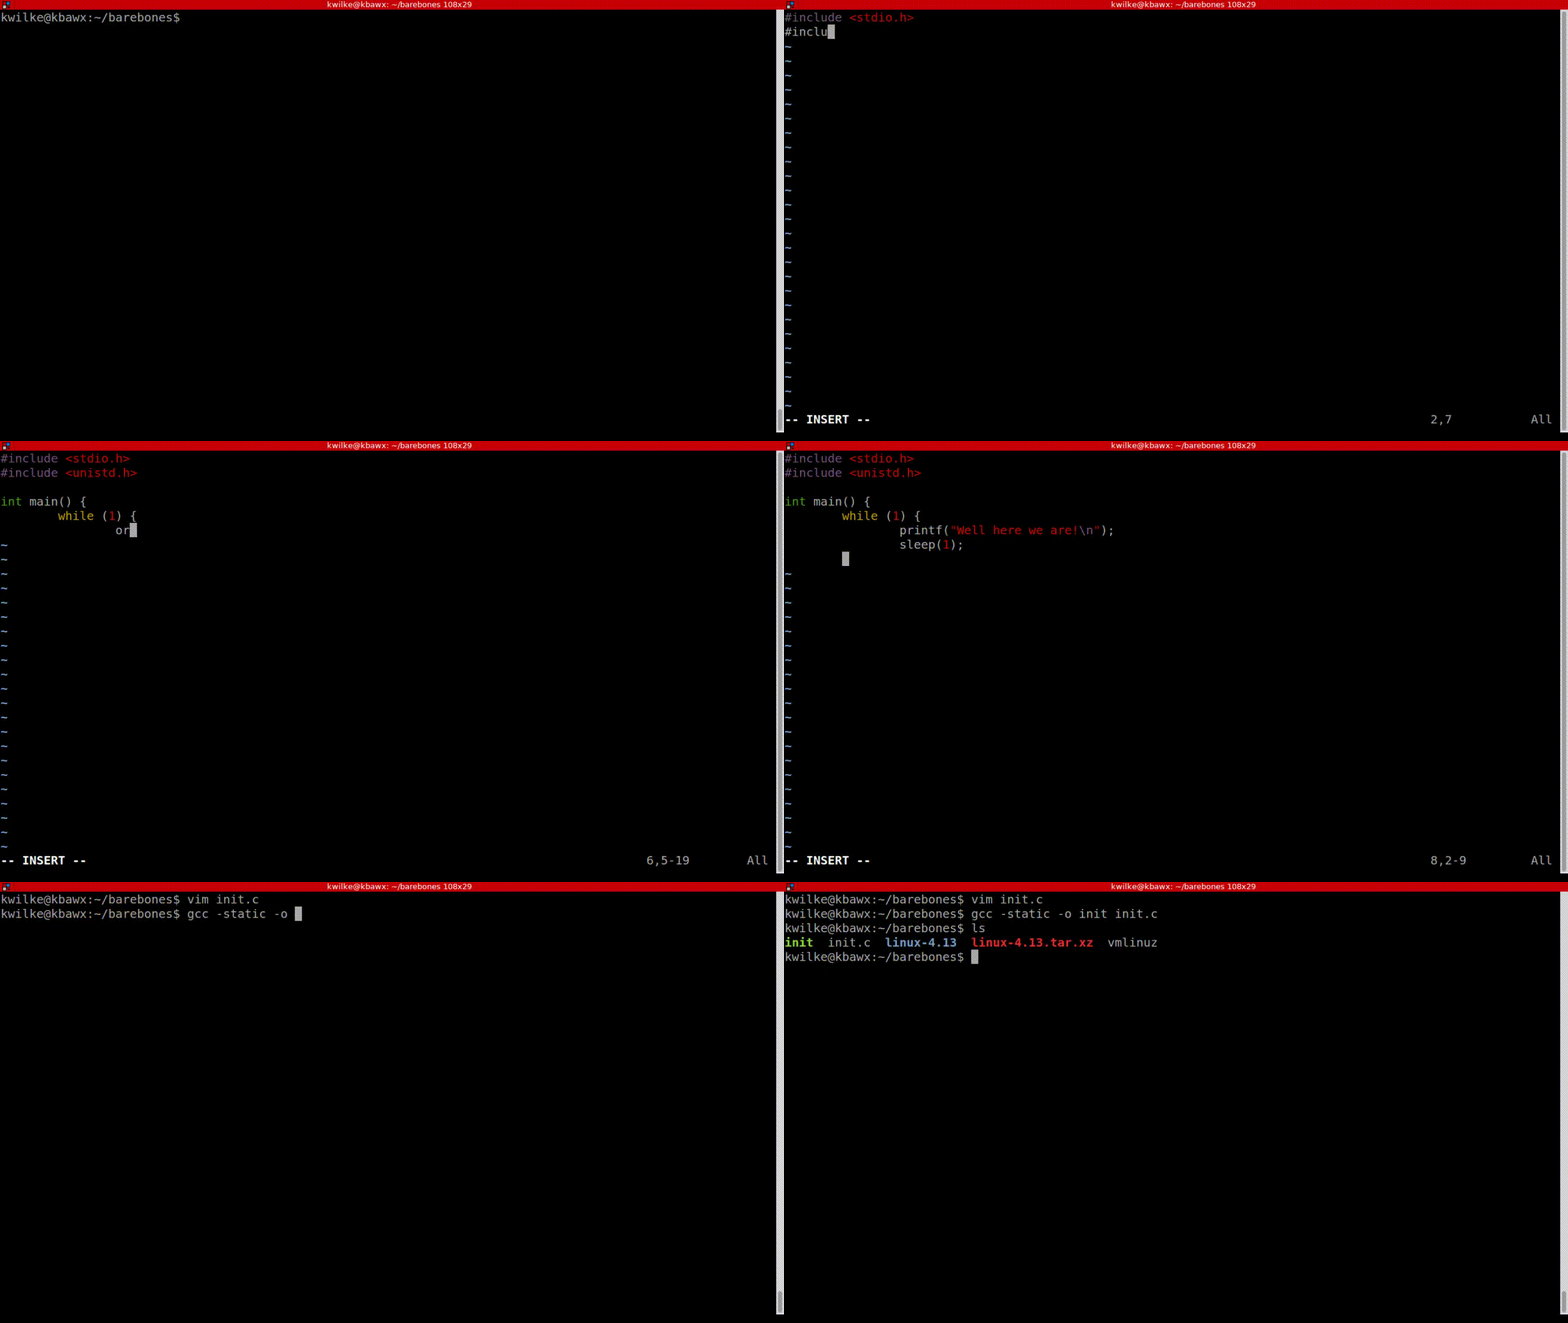
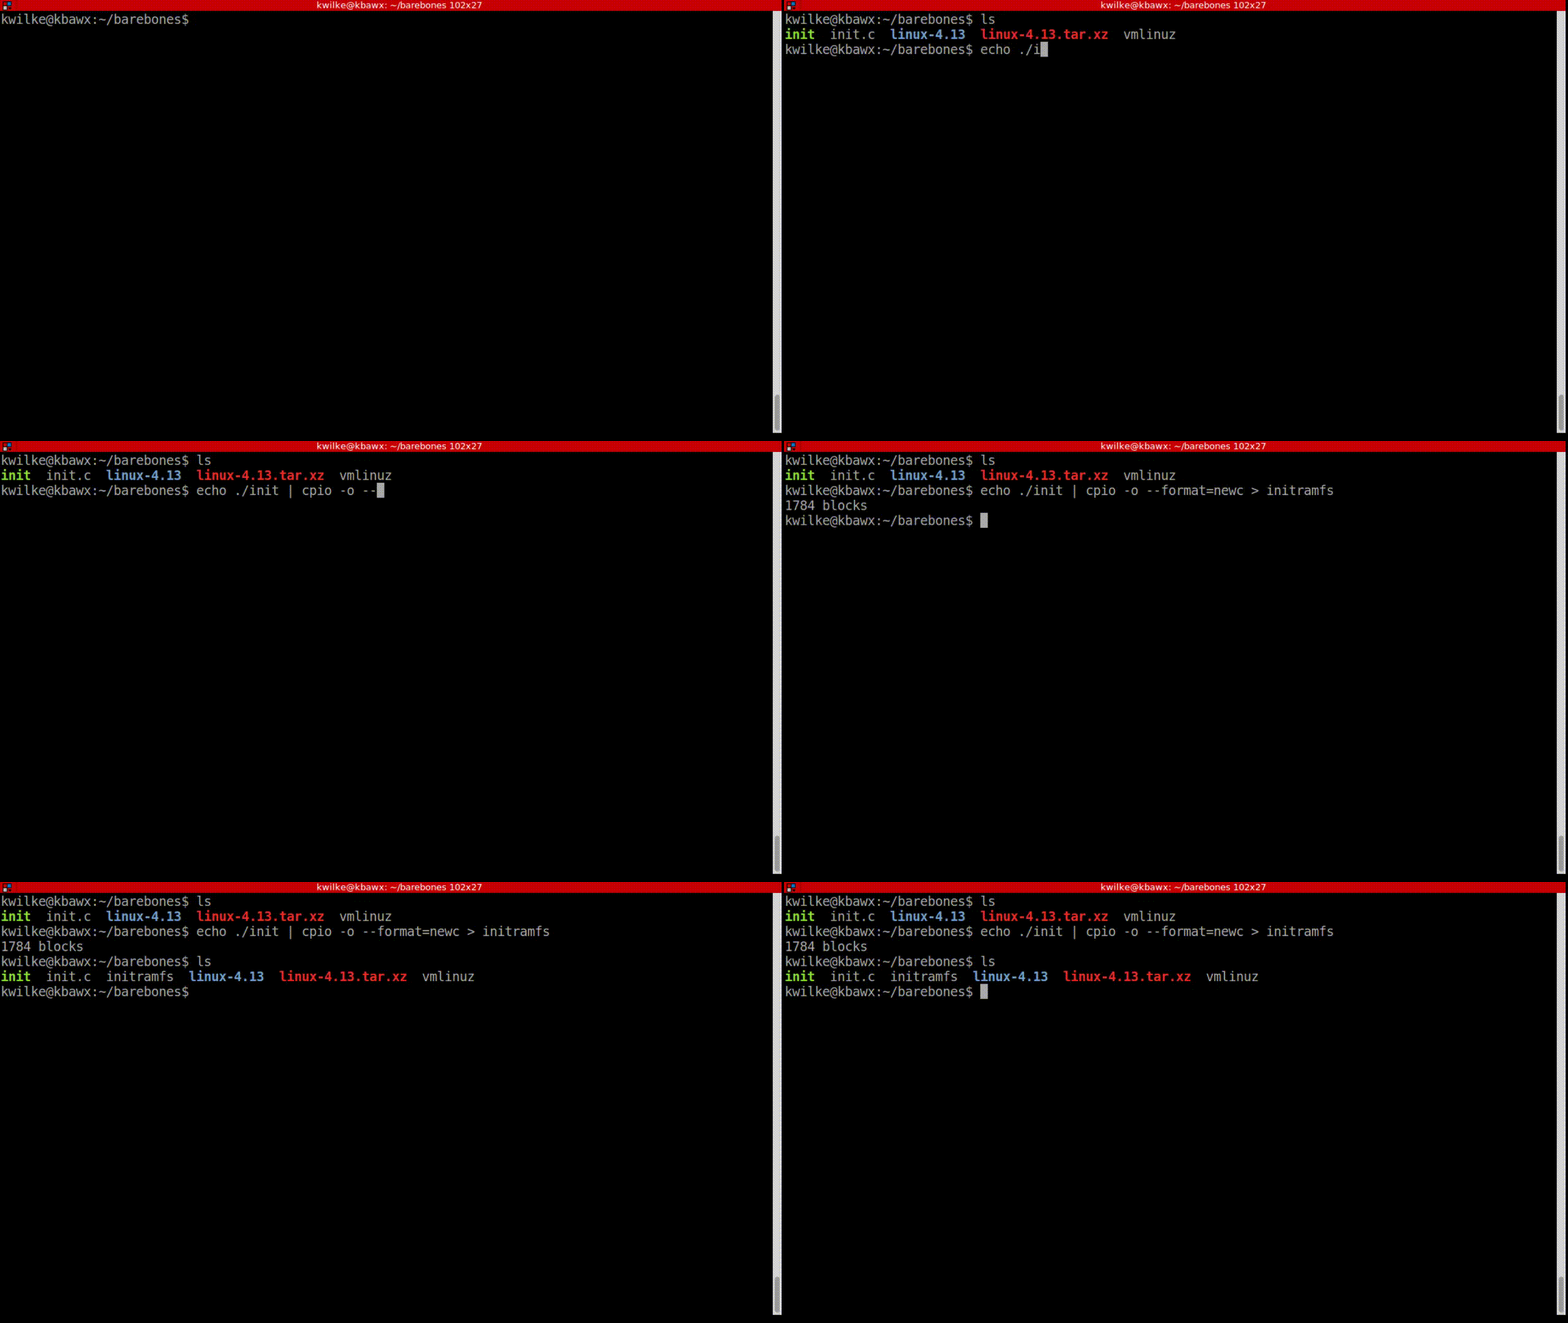
The next step is to build the initramfs, the initial file system that will go in ram for the kernel to interact with. To do this, I will pipe a newline separated list of files to pack to cpio. I only have one file so I’ll just echo that to it. cpio will output the archive and I’ll store that to a file.
Testing the new build in QEMU
I’ll be using qemu to test the new build. The simplest way I could boot the VM would be to use qemu-system-x86_64 -kernel vmlinuz -initrd initramfs, but to run this within my terminal I’ll also add -append console=ttyS0 -nographic.
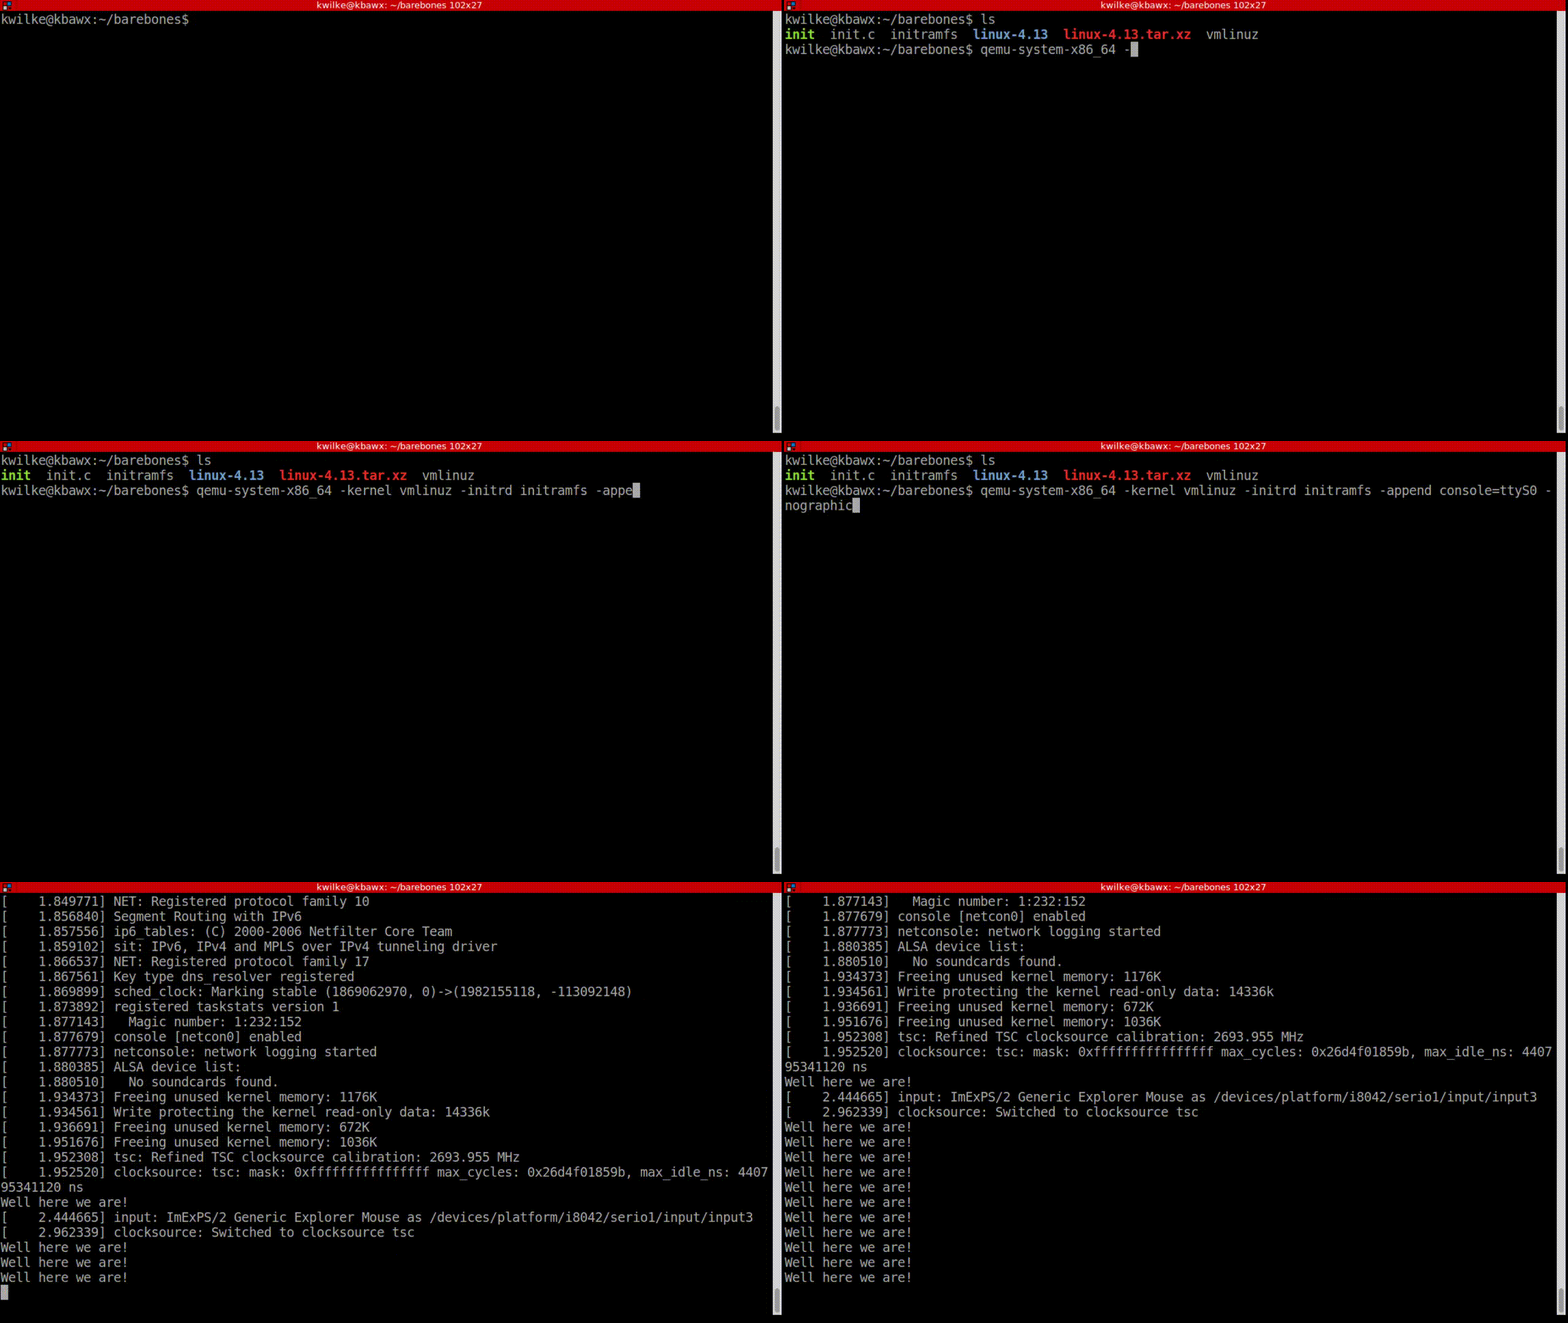
It boots fast and my hello world endlessly spits out its message! My barebones OS works! I may eventually use this to build a few utility images to network boot but for now this will do as a base for more tinkering.